CLICK HERE FOR FREE BLOGGER TEMPLATES, LINK BUTTONS AND MORE! »
Showing posts with label pantograph. Show all posts

Tuesday, August 30, 2011

Pauline's quilt

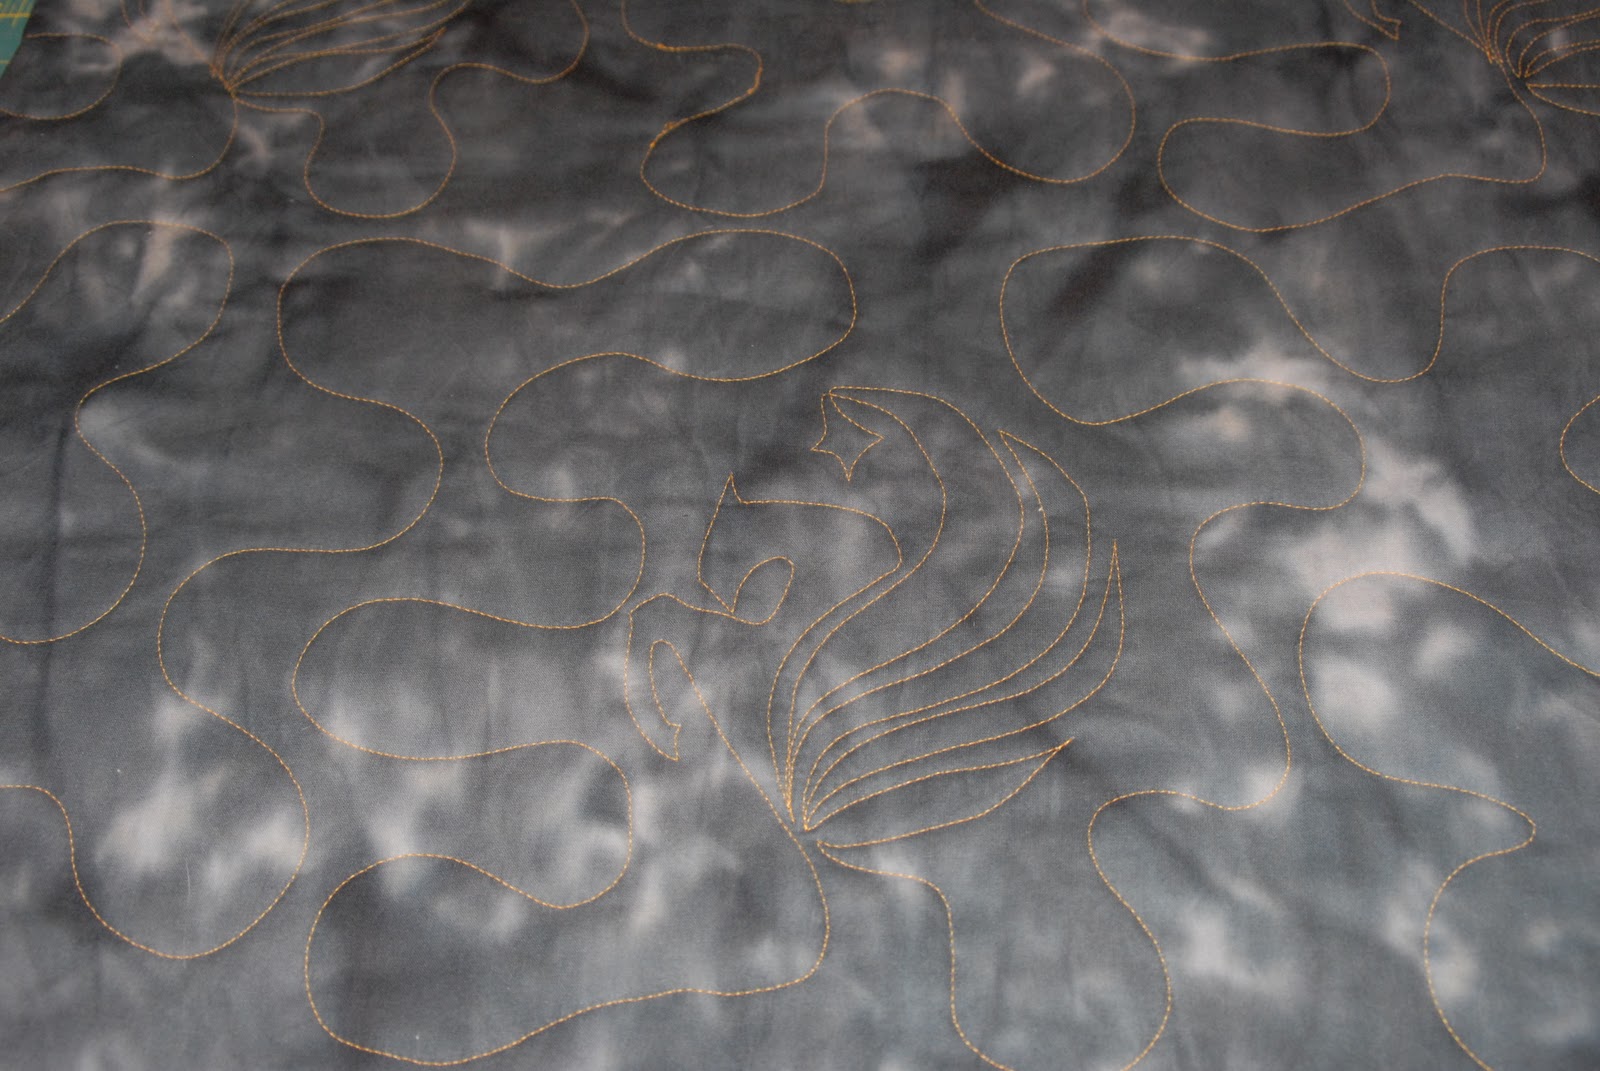
I spent several days last week and yesterday afternoon and evening working on a quilt for a woman that works at TEA.  Her son graduated from high school and is going to University of Central Florida.  She made a beautiful quilt for him using all batiks. It is gorgeous!  She used a pattern from a Kaffe Fassett book.  She has a black batik for the backing and it's 108" wide- I love it... no seam!  I made a pantograph pattern to use, with the logo for UCF in it- a Pegasus.  It is big meandering and then the Pegasus.  I had to learn how to offset the quilting so that one row started with the Pegasus design in it and the next one started with the meandering.  Luckily for me, I found good instructions on the internet.  Now if I can just remember what to do!  :-)   I used an orange thread for the top and bobbin.  It was alot of fun.  Last night I finished it.  It really looks nice.  Hope Pauline likes it!

This shows the quilting.  Pegasus is the logo for UCF so I did continuous line quilting involving the Pegasus.

Pauline's quilt was fun working on.  I loved the batiks she chose.  Maybe some day I'll do one with batiks!

Thursday, August 4, 2011

Work In Progress (WIP)

I'm working on a new quilt now. This is for some special friends of ours who have an anniversary coming up.  It's a throw size.  I put it on my frame and started following a pantograph called "Swirls".  I really enjoy using the pantographs. 

Each time I quilt is a learning experience.  With the last quilt I did, I drew up a pantograph, only to find that it was too big for my machine (meaning that I couldn't sew the whole design without having to move my quilt up on the frame.) It was 13" tall, and the throat on my machine will only accomodate a 12-12 1/4" tall one.  The next one I did, I made 7" tall.  It worked fine, but if I'd have made it 6" tall instead, I could have sewn 2 rows of the design before having to roll the quilt.  Live and learn!  With the Swirls panto, I made it so that 2 rows were 10" tall (which was nice because I could then print them off on regular computer paper.)

I had a little trouble with the first couple of rows of quilting.  It would do fine until I got to a seam, and then it really bogged down.  I thought that maybe I didn't have the take up bar (the one that is in the back that is where the 3 layers of quilt- quilt top, batting, and backing- roll onto after they have been quilted) up high enough.  I moved it up, but still had the same problem.  I then realized that a vertical bar holding the take up bar had moved and was no longer at a ninety degree angle.  I tightened that.  Still drag...   What's wrong?  I had Bill check it when he got home.  He thought that I had the take up bar too high.  I moved it back down and, "voila"!  Worked great!!!

I finished the quilting yesterday and had such a good time!  Boy, do I love this machine!

Next project?  We'll see...

By the way, I'll post pictures of this quilt later!  I don't want my friends to see it and ruin their surprise!

Now I can add the picture.  My friends just celebrated their 46th anniversary. 
I made this quilt for them because they have always enjoyed the seashore. 


Tuesday, August 2, 2011

Our bedspread on the frame

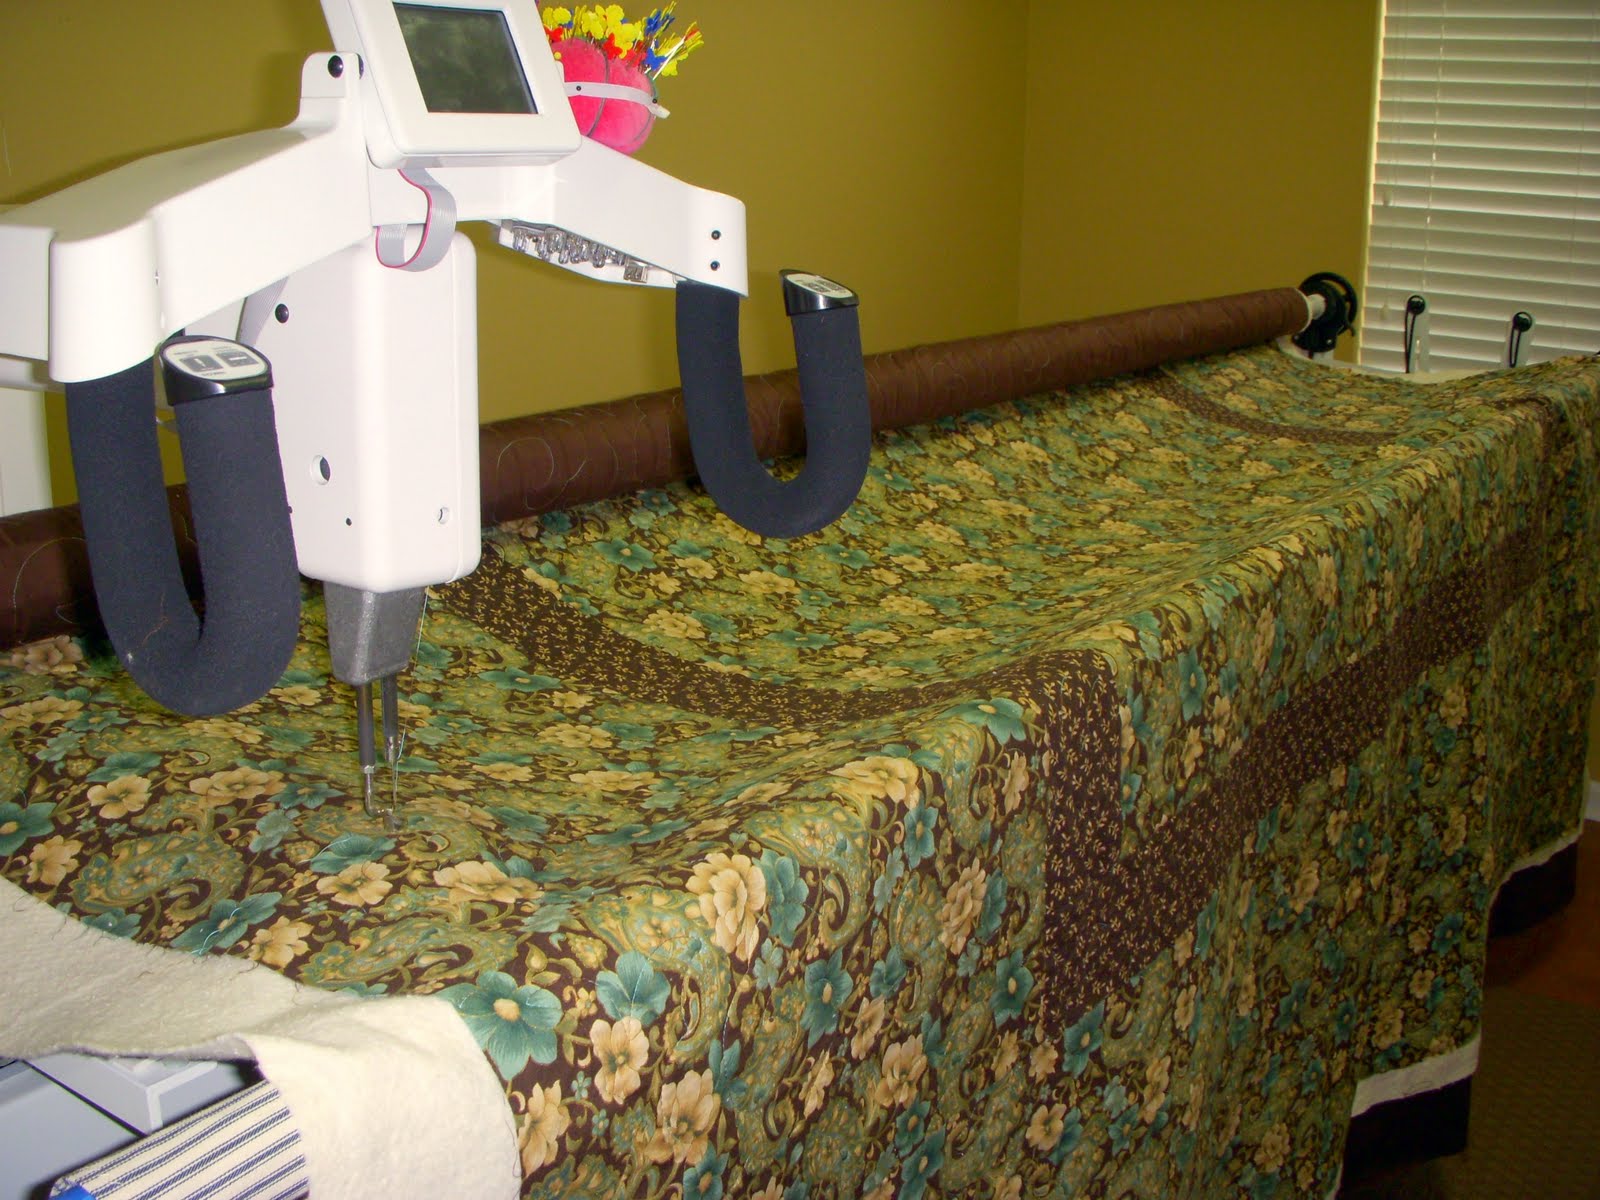
 The third quilt I made was actually for us, can you believe it?  I already had the top put together before I got my new machine.  I love the fabric! It's from Hobby Lobby and is brown, tan, and teal with gold metallic outlines. I had tried quilting it on the sewing machine that I had originally gotten with my new frame.  It just didn't work out.  Even though the machine had a speed control on it, my stitches were not even.  The speed control is supposed to make sure that no matter how fast or slow I am moving my machine on the frame, the stitches will all be whatever length I set them to be.  Not true with the original Babylock.  However, with my new CJ, it is beautiful!  I used a pantograph called popcorn, and a variated thread that was the same colors as the fabric!  Beautiful!  I used solid brown for the backing, so the stitching really showed up nicely!  I was amazed at how easy it was, even though the quilt is over 100" long and wide!  It took me roughly 5 1/2 hours to quilt the whole quilt!  Never could have done that without the frame!  The quilt was so heavy, it would have really been a lot of work!


The Popcorn design shows up nicely on the back


Sunday, July 17, 2011

I'm in business!


I got my first order on the 4th of July! A co-worker of Bill's asked me to quilt a quilt for her parents' 50th anniversary.  It was a 69"x69" quilt.  Around its border were blocks that different family members had signed.  In the center was a machine embroidered block with their name.  I decided to use a pantograph that had hearts in it.  It was a littler un-nerving to be working behind the machine.  That's where I stand when I use pantographs.  The laser light is on the back of the machine and I have that light follow the pantograph, which is on the frame table.  Bill stood in front of the frame and watched as I sewed.  I had to be careful to not stitch over the beautiful embroidered block.  I meandered in the sashing between all of the border blocks.  I used a variated thread, which showed up beautifully on the back of the quilt.  I really had fun with it- and appreciated Bill cheering me on.